Outdoor Installations and Repairs in Denver, CO


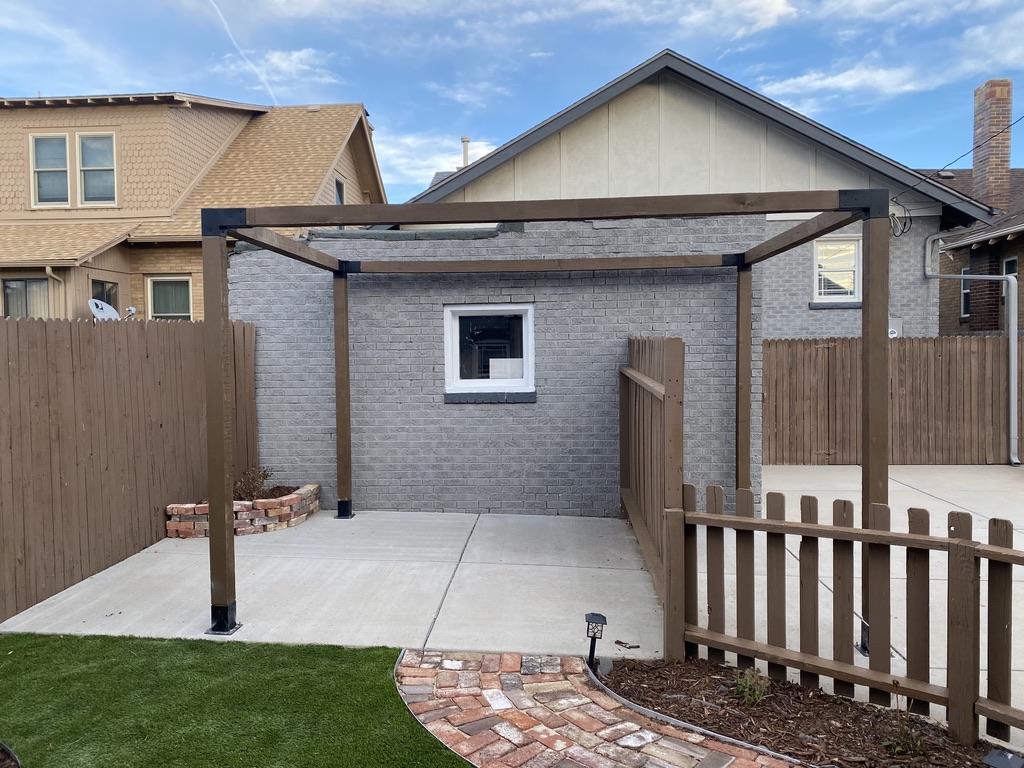
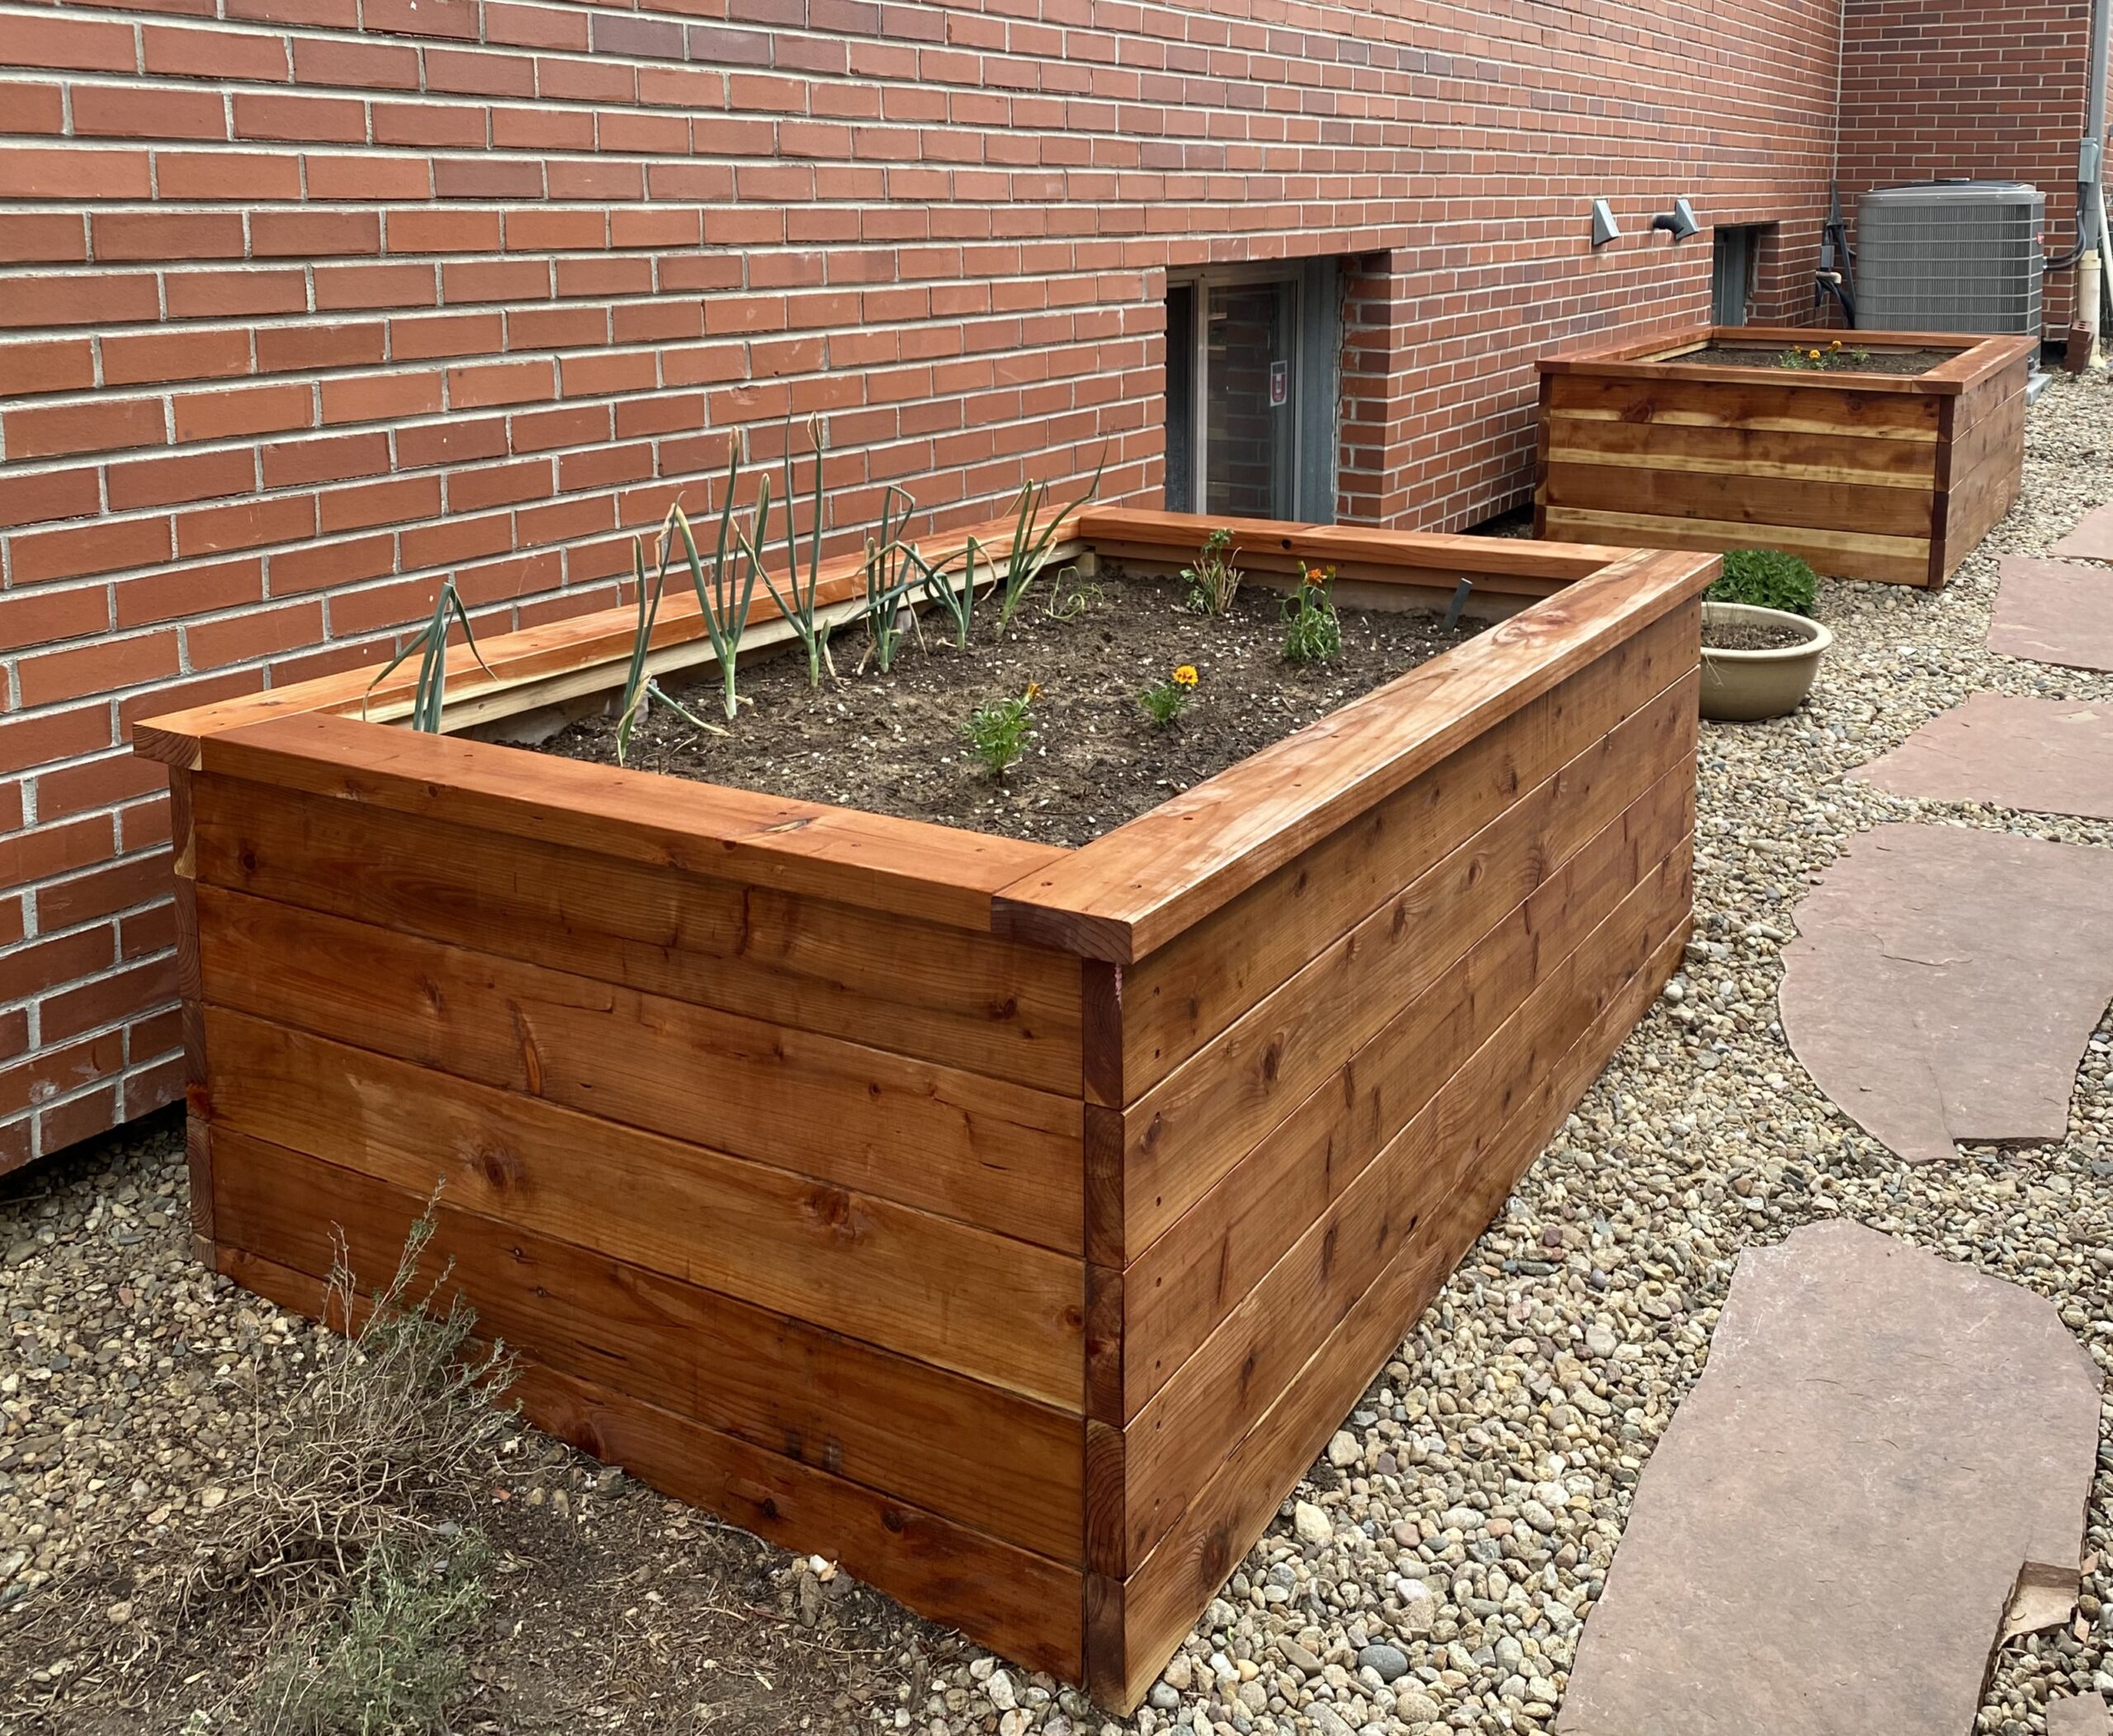
Transform your outdoor space with the expertise of a dedicated handyman who specializes in professional installations and repairs. Imagine beautifully crafted garden boxes that not only enhance your landscaping but also provide a perfect home for your favorite plants, herbs, and vegetables. Complementing these features, a meticulously built trellis can add vertical interest and support climbing vines, creating a stunning visual appeal and some much needed shade. With a keen eye for detail and a passion for outdoor aesthetics, I ensure that every project is tailored to your vision. Whether it's constructing new installations or repairing existing structures, you can trust that your outdoor areas will be treated with the utmost care and professionalism. Let your yard flourish with the help of a skilled handyman who brings creativity and craftsmanship to every job.
Schedule Service
Advantages of Adding Outdoor Structures to Your Yard
Adding outdoor points of interest like garden/vegetable boxes and trellises to your yard can offer numerous benefits:
- Aesthetic Appeal
Enhances the visual attractiveness of your yard, creating a more inviting and picturesque outdoor space.
- Increased Property Value
Well-designed landscaping with functional and beautiful elements can boost your home's market value.
- Personal Enjoyment
Provides a space for relaxation, creativity, and personal satisfaction as you nurture plants and watch them grow.
- Sustainability
Encourages sustainable living by allowing you to grow your own vegetables, herbs, and flowers, reducing the need for store-bought produce.
- Health Benefits
Gardening is a physical activity that promotes exercise and can reduce stress, contributing to overall well-being.
- Educational Opportunities
Offers a hands-on way to learn about plant biology, ecosystems, and sustainable practices, especially for children.
- Wildlife Habitat
Attracts beneficial insects, birds, and pollinators, contributing to a healthier ecosystem in your yard.
- Privacy, Screening and Shade
Trellises with climbing plants can provide shade and natural privacy screens, making your outdoor space more secluded and peaceful.
- Improved Air Quality
Plants help purify the air by absorbing pollutants and releasing oxygen, contributing to a healthier environment.
How to Build Your Own Garden Box in Denver, Colorado
Building your own raised garden box is a rewarding DIY project that can enhance your outdoor space and provide a great environment for growing plants. Here’s a step-by-step guide on creating your own garden box, but always remember that complex repairs or installations are best left to professionals.
Materials Needed:
- Wood: Cedar or redwood are ideal because they are naturally rot-resistant. For a standard size, you might use 2x6 or 2x8 boards.
- Corner Posts: 4x4 posts or stakes for the corners.
- Galvanized Screws: To prevent rusting (2.5 to 3 inches in length).
- Drill: With a drill bit that matches your screws.
- Measuring Tape
- Saw: For cutting wood to size.
- Level: To ensure the box is even.
- Soil and Compost: To fill your garden box.
Step-by-Step Instructions:
1. Choose Your Location
- Pick a sunny spot that gets at least 6-8 hours of sunlight daily.
- Ensure the area is level or prepare to level it.
2. Decide on the Size
- A common size is 4 feet by 8 feet, which is manageable and allows for easy access from all sides.
- The height can range from 10 to 24 inches, depending on your preference.
3. Cut the Wood to Size
- Cut the boards to the desired length for the sides of the box. For example, for a 4x8 box, you’ll need two 4-foot boards and two 8-foot boards.
- For the corner posts, cut four pieces of 4x4 to the height of your raised bed.
4. Assemble the Box
- Attach the Corner Posts: Lay out the boards and attach the shorter boards (4-foot) to the corner posts using galvanized screws. Ensure the tops of the posts are flush with the top edge of the boards.
- Attach the Longer Boards: Next, attach the longer boards (8-foot) to the posts or the ends of the shorter boards to complete the rectangular frame. Use screws at each joint.
5. Ensure the Box is Level
- Place the box in your desired location and use a level to ensure it sits evenly. Adjust the ground if necessary.
6. Reinforce the Box
- If the box is particularly long (over 6 feet), you might want to add additional stakes or braces in the middle of the long sides to prevent bowing.
7. Prepare the Ground
- Remove any grass or weeds from the area where the box will sit.
- If desired, lay down landscaping fabric to suppress weeds.
8. Fill the Box with Soil
- Add a mixture of topsoil and compost to fill the box. This should be a well-draining, nutrient-rich soil mix.
- Level the soil, leaving a couple of inches of space from the top of the box to prevent overflow when watering.
9. Start Planting
- Your raised garden box is now ready to be planted with vegetables, herbs, or flowers.
Tips:
- Avoid Pressure-Treated Wood: It contains chemicals that could leach into your soil.
- Add a Liner: If you're concerned about weeds or pests, consider adding a liner inside the box before filling it with soil.
- Watering System: Consider adding a simple drip irrigation system to make watering easier.
This garden box will not only add beauty to your yard but also provide a practical space for growing your own plants, herbs, and vegetables!
